前言
在後台常常需要有報表匯出Excel的功能,過往是使用NPOI去實作,近期專案決定使用另一套 Eecel 程式庫 ClosedXML,所以簡單練習紀錄一下
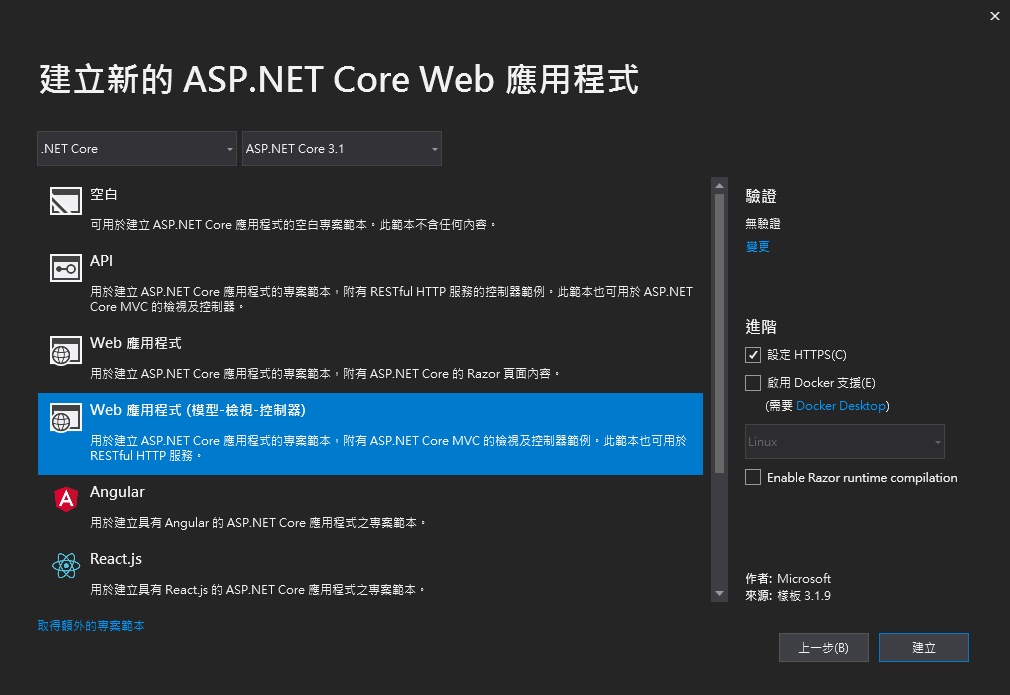
新增.NET Core MVC專案
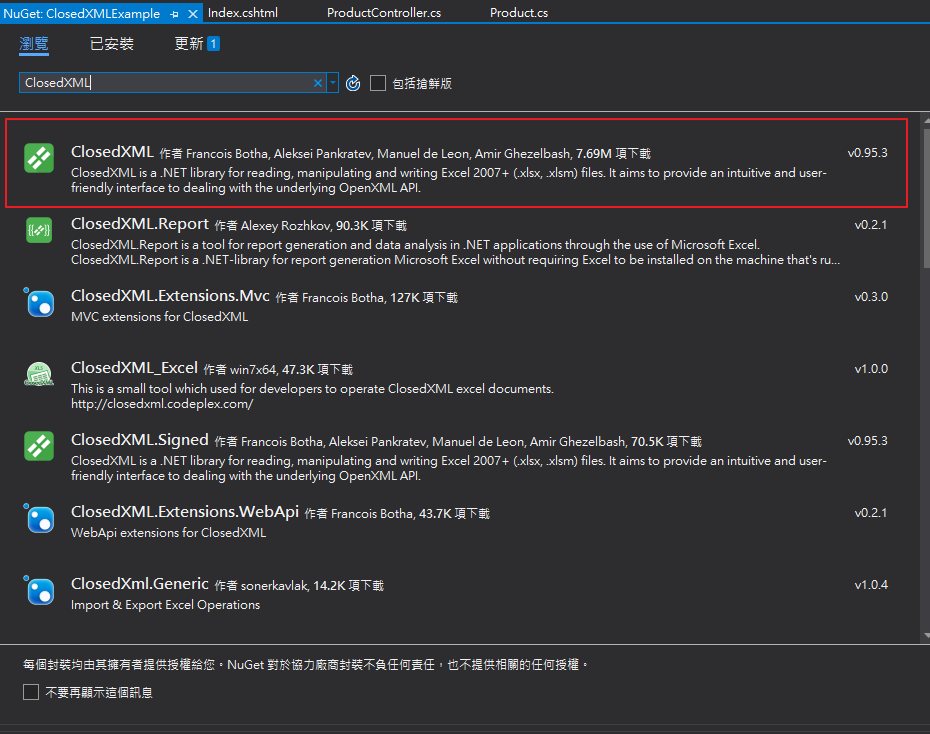
安裝
工具列→專案→管理NuGet套件→瀏覽→搜尋輸入ClosedXML→安裝
測試環境設定
新增Model,Controller 和 View,這邊不做資料庫等設定,直接產生資料與呈現。
Model:
1
2
3
4
5
6
7
| public class Product
{
public int Id { get; set; }
public string ProductName { get; set; }
public decimal UnitPrice { get; set; }
public int Quantity { get; set; }
}
|
Controller:
1
2
3
4
5
6
7
8
9
10
11
12
13
14
15
16
17
18
19
20
21
| namespace ClosedXMLExample.Controllers
{
public class ProductController : Controller
{
private List<Product> productList;
public ProductController()
{
productList = new List<Product>() {
new Product{ Id=1,ProductName="Apple",UnitPrice=30.5m,Quantity=4},
new Product{ Id=2,ProductName="Banana",UnitPrice=40,Quantity=8},
new Product{ Id=3,ProductName="Orange",UnitPrice=20,Quantity=10},
new Product{ Id=4,ProductName="Watermelon",UnitPrice=100,Quantity=2},
};
}
public IActionResult Index()
{
return View(productList);
}
}
}
|
檢視:
1
2
3
4
5
6
7
8
9
10
11
12
13
14
15
16
17
18
19
20
21
22
23
24
25
26
27
28
29
30
31
32
33
34
35
36
37
38
39
40
41
42
43
44
45
46
47
| @model IEnumerable<ClosedXMLExample.Models.Product>
@{
ViewData["Title"] = "Index";
}
<form method="post">
<button class="btn btn-danger">Export Excel</button>
</form>
<table class="table">
<thead>
<tr>
<th>
@Html.DisplayNameFor(model => model.Id)
</th>
<th>
@Html.DisplayNameFor(model => model.ProductName)
</th>
<th>
@Html.DisplayNameFor(model => model.UnitPrice)
</th>
<th>
@Html.DisplayNameFor(model => model.Quantity)
</th>
</tr>
</thead>
<tbody>
@foreach (var item in Model)
{
<tr>
<td>
@Html.DisplayFor(modelItem => item.Id)
</td>
<td>
@Html.DisplayFor(modelItem => item.ProductName)
</td>
<td>
@Html.DisplayFor(modelItem => item.UnitPrice)
</td>
<td>
@Html.DisplayFor(modelItem => item.Quantity)
</td>
</tr>
}
</tbody>
</table>
|
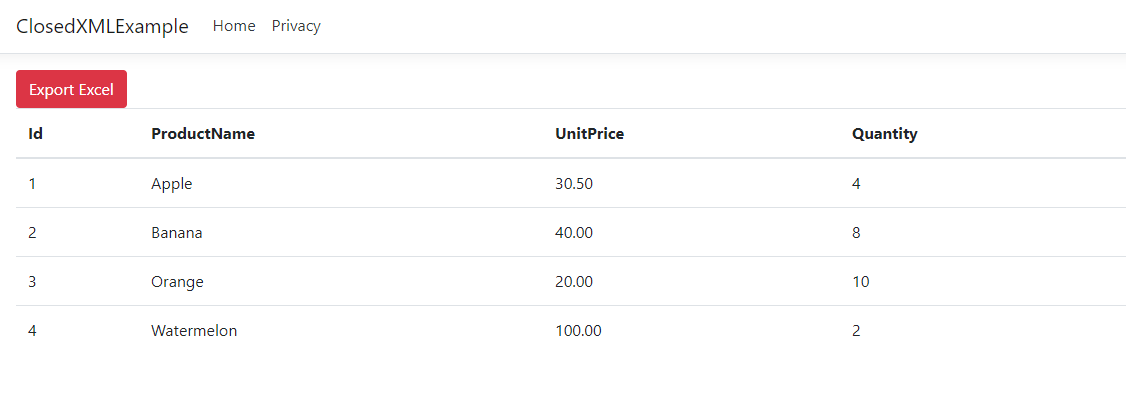
到這邊前置作業就結束,到這邊可以看到網頁可以顯示商品銷售資料,並有一顆匯出Excel按鈕。
實作方法
之後至ProductController 引用命名空間並 新增Action
1
2
3
4
5
6
7
8
9
10
11
12
13
14
15
16
17
18
19
20
21
22
23
24
25
26
27
28
29
30
31
32
33
34
35
36
37
38
39
40
| using ClosedXML.Excel;
public IActionResult ExportExcel()
{
var columnNameList = typeof(Product).GetProperties().Select(c => c.Name).ToList();
string contentType = "application/vnd.openxmlformats-officedocument.spreadsheetml.sheet";
string fileName = "ProductsReport.xlsx";
var workbook = new XLWorkbook();
IXLWorksheet worksheet = workbook.Worksheets.Add("ProductsSale");
for (int i = 1; i <= columnNameList.Count(); i++)
{
worksheet.Cell(1, i).Value = columnNameList[i - 1];
worksheet.Cell(1, i).Style.Fill.SetBackgroundColor(XLColor.Red);
worksheet.Cell(1, i).Style.Font.SetFontSize(12);
worksheet.Cell(1, i).Style.Font.SetBold();
}
for (int j = 1; j <= productList.Count(); j++)
{
worksheet.Cell(j + 1, 1).Value = productList[j - 1].Id;
worksheet.Cell(j + 1, 2).Value = productList[j - 1].ProductName;
worksheet.Cell(j + 1, 3).Value = productList[j - 1].UnitPrice;
worksheet.Cell(j + 1, 4).Value = productList[j - 1].Quantity;
}
using (var stream = new MemoryStream())
{
workbook.SaveAs(stream);
var content = stream.ToArray();
return File(content, contentType, fileName);
}
}
|
並調整View裡面按鈕的部份。
1
2
3
| <form method="post">
<button class="btn btn-danger" asp-action="ExportExcel">Export Excel</button>
</form>
|
之後點選按鈕匯出結果如下:
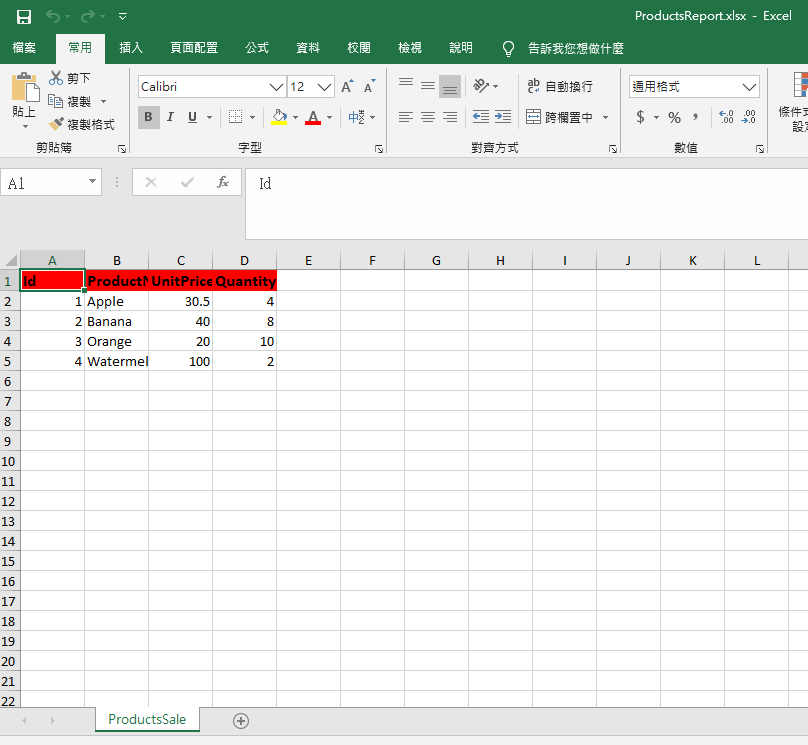
輕鬆地完成匯出報表的功能