前言 在撰寫專案時,經常會碰到資料類別對映的處理,例如ViewModel和實際Entity之間的對應,或是層與層之間的轉換。常見的處理方式如下:
1
2
3
4
5
6
7
8
9
10
11
12
13
14
15
16
17
18
19
20
21
22
23
24
25
26
27
28
29
public IActionResult Index ( var result = employeeList.Select(x => new EmployeeViewModel { Id = x.Id, Name = x.Name, Phone = x.Phone }); return View(result); } public IActionResult Index ( List<EmployeeViewModel> result = new List<EmployeeViewModel>(); foreach (var employee in employeeList) { result.Add(new EmployeeViewModel() { Id = employee.Id, Name=employee.Name, Phone=employee.Phone }); } return View(result); }
如果欄位變多的話,程式碼會變得很冗長,這時候就可以使用今天的主角 AutoMapper 來做這樣的處理。
AutoMapper介紹 套件Github首頁:https://github.com/AutoMapper/AutoMapper https://docs.automapper.org/en/stable/index.html
AutoMapper 是一個類別對映轉換的套件,可以快速且簡單實現類別對映的處理,並減少繁瑣的程式碼。
新增.NET Core MVC專案 這邊使用.NET Core MVC專案來方便展示
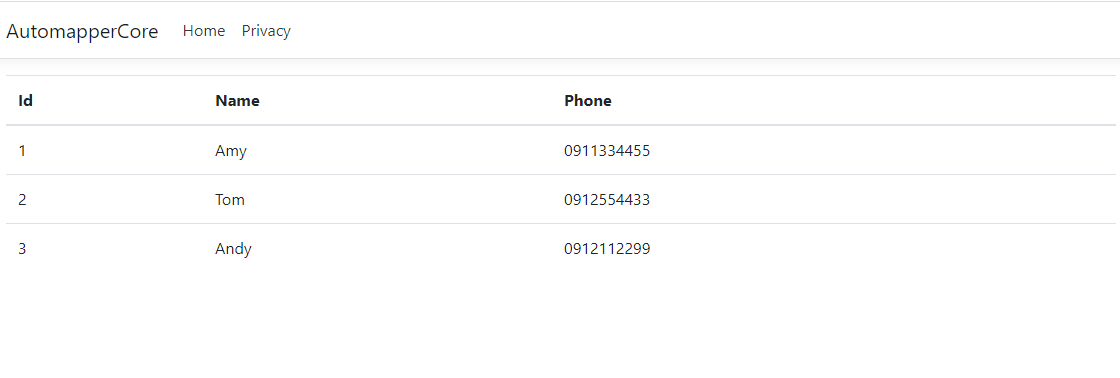
測試環境設定 新增Model,ViewModel , Controller 和 View,這邊直接產生資料並展示在View上
1
2
3
4
5
6
7
8
9
10
11
12
13
14
15
16
public class Employee { public int Id { get ; set ; } public string Name { get ; set ; } public string Phone { get ; set ; } public int Age { get ; set ; } } public class EmployeeViewModel { public int Id { get ; set ; } public string Name { get ; set ; } public string Phone { get ; set ; } }
Controller:
1
2
3
4
5
6
7
8
9
10
11
12
13
14
15
16
17
18
19
20
21
22
23
24
25
26
namespace AutomapperCore.Controllers { public class EmployeeController : Controller { private List<Employee> _employeeList; public EmployeeController ( _employeeList = new List<Employee>() { new Employee{ Id=1 , Name="Amy" , Phone="0911334455" , Age=25 }, new Employee{ Id=2 , Name="Tom" , Phone="0912554433" , Age=28 }, new Employee{ Id=3 , Name="Andy" , Phone="0912112299" , Age=30 }, }; } public IActionResult Index ( var result = employeeList.Select(x => new EmployeeViewModel { Id = x.Id, Name = x.Name, Phone = x.Phone }); return View(result); } } }
View:
1
2
3
4
5
6
7
8
9
10
11
12
13
14
15
16
17
18
19
20
21
22
23
24
25
26
27
28
29
30
31
32
33
@model IEnumerable<AutomapperCore.Models.EmployeeViewModel> <table class ="table" > <thead> <tr> <th> @Html.DisplayNameFor(model => model.Id) </th> <th> @Html.DisplayNameFor(model => model.Name) </th> <th> @Html.DisplayNameFor(model => model.Phone) </th> </tr> </thead> <tbody> @foreach (var item in Model) { <tr> <td> @Html.DisplayFor(modelItem => item.Id) </td> <td> @Html.DisplayFor(modelItem => item.Name) </td> <td> @Html.DisplayFor(modelItem => item.Phone) </td> </tr> } </tbody> </table>
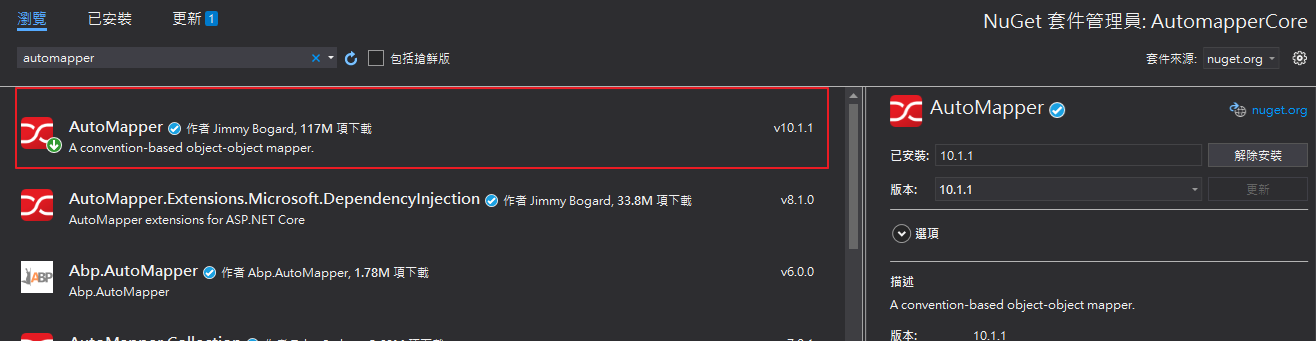
使用AutoMapper 透過 NuGet 安裝 AutoMapper 到專案中
基本使用:
1
2
3
4
5
6
7
8
9
10
public IActionResult Index ( var config = new MapperConfiguration(cfg => cfg.CreateMap<Employee, EmployeeViewModel>()); config.AssertConfigurationIsValid(); var mapper = config.CreateMapper(); var result = mapper.Map<IEnumerable<EmployeeViewModel>>(employeeList); return View(result); }
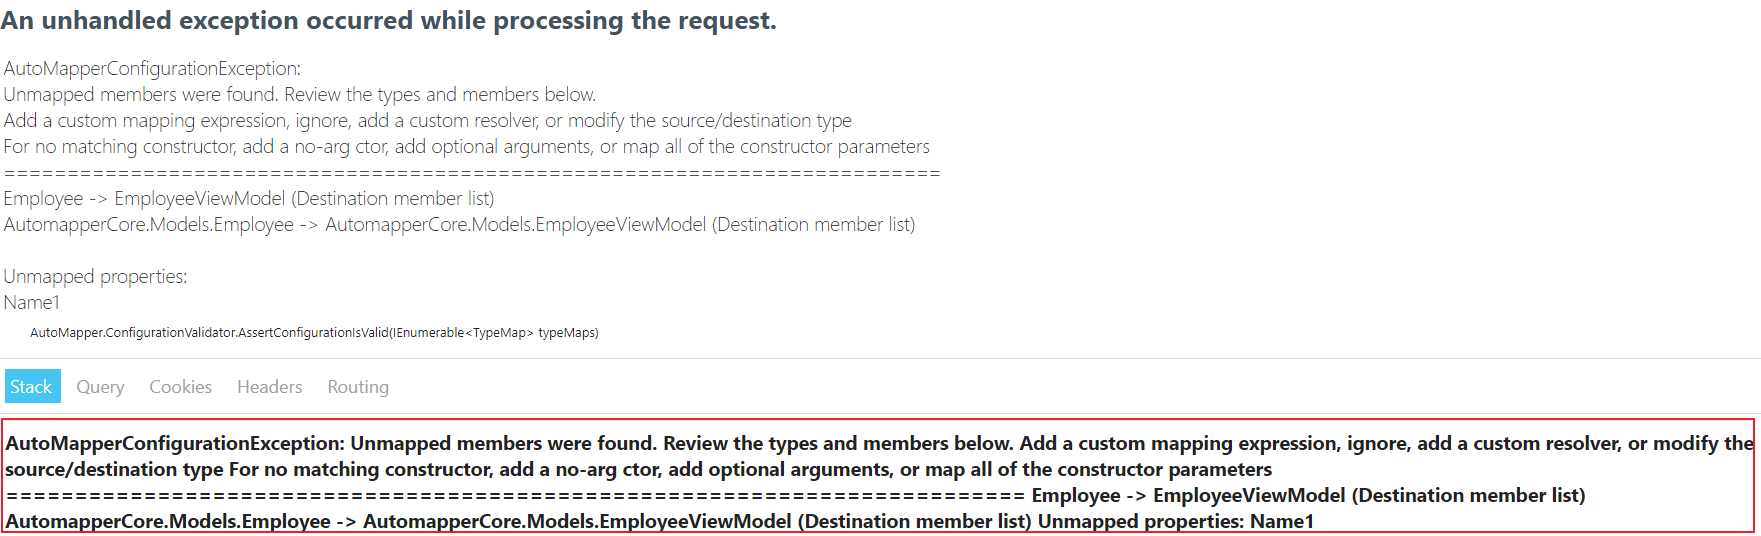
這邊說明一下config.AssertConfigurationIsValid()的功能:
集中管理使用 如果有多組類別需要對映,我們可以建立一個profile檔案去繼承Automapper的profile ,接著在建構式裡將需要的轉換關係都建立出來。就可以集中管理這些mapping。
Profile:
1
2
3
4
5
6
7
8
9
public class MappingProfile : Profile { public MappingProfile ( CreateMap<Employee, EmployeeViewModel>(); } }
接著當我們建立 Mapper 時,就可以直接用 AddProfile 和建立好的 Profile 來直接讀入對映關係:
1
2
3
4
5
6
7
8
9
public IActionResult Index ( var config = new MapperConfiguration(cfg => cfg.AddProfile<MappingProfile>()); config.AssertConfigurationIsValid(); var mapper = config.CreateMapper(); var result = mapper.Map<IEnumerable<EmployeeViewModel>>(employeeList); return View(result); }
在 MapperConfiguration 的時候也可以額外去做多次 AddProfile 和 CreateMap,因此可以按照實務上的運用去做分類和整理。
1
2
3
4
5
6
7
8
9
10
11
12
13
14
public IActionResult Index ( var config = new MapperConfiguration(cfg => { cfg.AddProfile<MappingProfile>(); cfg.CreateMap<Employee, EmployeeOtherViewModel>(); }); config.AssertConfigurationIsValid(); var mapper = config.CreateMapper(); var result = mapper.Map<IEnumerable<EmployeeOtherViewModel>>(employeeList); return View(result); }
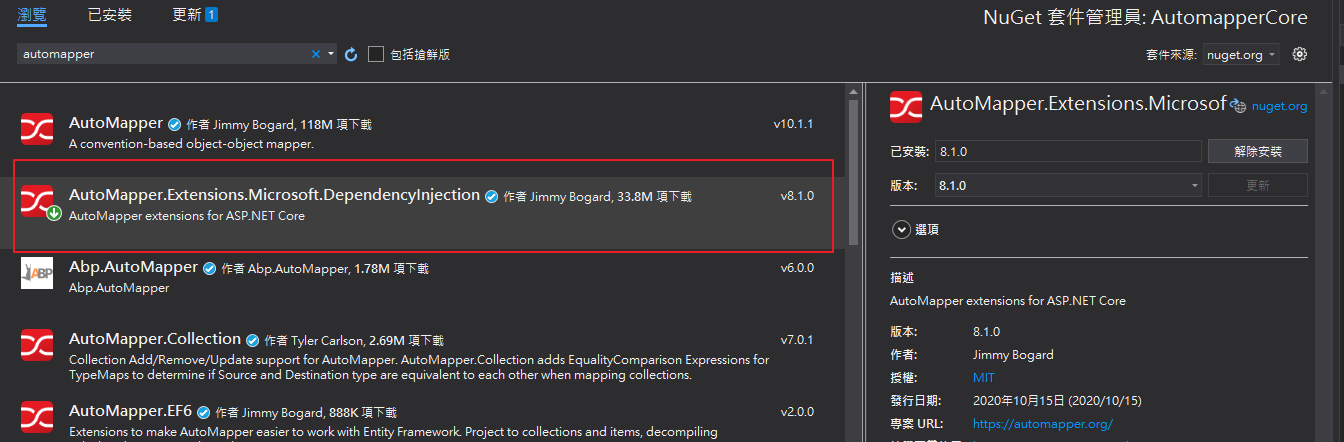
導入DI 至 NuGet 安裝 AutoMapper DI 用的套件:AutoMapper.Extensions.Microsoft.DependencyInjection
因為該套件相依AutoMapper,會一起自動安裝AutoMapper,所以實際上可以只裝這個就好
在Startup.cs 註冊 Service,並加入驗證
1
2
3
4
5
6
7
8
9
10
11
public void ConfigureServices (IServiceCollection services ) services.AddControllersWithViews(); services.AddAutoMapper(typeof (Startup)); } public void Configure (IApplicationBuilder app, ... , IMapper mapper ) ... mapper.ConfigurationProvider.AssertConfigurationIsValid(); }
在Controller 注入取得Mapper
1
2
3
4
5
6
7
8
9
10
11
12
13
14
15
16
17
18
19
20
21
22
23
24
namespace AutomapperCore.Controllers { public class EmployeeController : Controller { private IMapper _mapper; private List<Employee> _employeeList; public EmployeeController (IMapper mapper ) this ._mapper = mapper; _employeeList = new List<Employee>() { new Employee{ Id=1 , Name="Amy" , Phone="0911334455" , Age=25 }, new Employee{ Id=2 , Name="Tom" , Phone="0912554433" , Age=28 }, new Employee{ Id=3 , Name="Andy" , Phone="0912112299" , Age=30 }, }; } public IActionResult Index ( _mapper.ConfigurationProvider.AssertConfigurationIsValid(); var result = _mapper.Map<IEnumerable<EmployeeViewModel>>(_employeeList); return View(result); } } }
透過建構式注入 IMapper 即可自動取得所有Profile,並直接呼叫Map()方法對映,達成程式碼簡潔、低耦合的好處
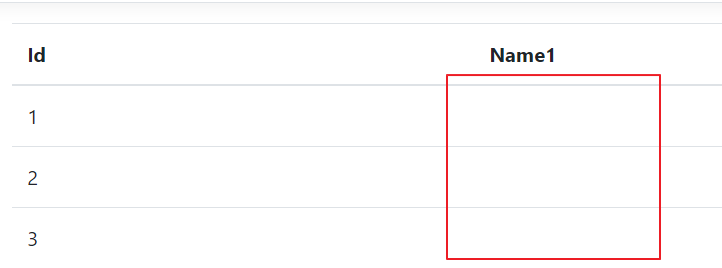
延伸使用 (下列範例已將 EmployeeViewModel 的 Name 欄位改成 FullName )
反轉對映 當你的類別之間可能需要往回轉型,或是一時分不清是哪個Model要對應到哪個Model,那可以加上ReverseMap()實現雙向映射,以免轉來轉去出錯。
1 CreateMap<Employee, EmployeeViewModel>().ReverseMap();
客製化對映 在分層架構時會建立自己的Model,有時候可能實際上我們並不一定每個欄位的名稱都是一樣的、或者需要對Model進行特殊處理,那就可以用以下方法來處理:
1 CreateMap<Employee, EmployeeViewModel>().ForMember(des => des.FullName, opt => opt.MapFrom(src => src.Name));
如果是改變欄位資料或合併,那就可以用以下方法來處理:
1 CreateMap<Employee, EmployeeViewModel>().ForMember(des => des.FullName, opt => opt.MapFrom(src => $"{src.Id} :{src.Name} " ));
忽略對映 如果兩個類別之間大多數欄位雖然對映,但某幾個欄位是沒有對映的,來源資料並沒有某個目標資料需要的欄位,如果直接Map()對映,就會發生找不到對映欄位的錯誤。這時候就可以使用 Ignore 來忽略掉指定的欄位。
1 CreateMap<Employee, EmployeeViewModel>().ForMember(des => des.FullName, src => src.Ignore());
結語 這篇把 AutoMapper 運用在 .Net Core的基本用法和設定介紹完了,並利用.Net Core DI的特性集中管理,將這些類別轉換對映的設定都集中在一個地方
如果要運用在ASP.NET MVC 上可以參考網路較舊的教學文,但要注意新版的AutoMapper的設定與舊版有所差異,其他較進階的用法如多個物件對映至一個類別、複雜結構類別對映至扁平化類別,可以參考官方文件